The MATE ROV Competition is starting to get going again, in preparation for the 2013 contest. I have been the Public Informations Officer of a Ranger team for 3 years now, and so I have finally go it through my thick skull that it is important to begin research and concept designing earlier rather than later. To this end I have started to experiment with the Arduino microcontroller environment. My MATE team has always favored Arduino microcontrollers for their simplicity and versatility, not to mention the fact that there are hundreds of open source libraries and code examples available on the Web. By the way, I may use some MATE ROV terms, but I'm not going to explain everything. If you are interested in the MATE ROV competition, by all means visit their website: www.materover.org
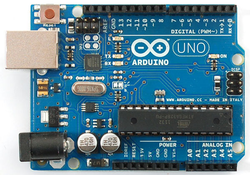
Arduino Rev 3
The Arduino Rev 3 has excellent functionality for pretty much any prototyping or microcontroller application you can think of. My goal is to use the R3 with multiple sensors, and display data from the sensors on either a Topway LMB162ABC 16x2 LCD display, or a Nokia 5110 84x84 GLCD screen.
In past years, the MATE competition has had a limit on the number of screens/displays used by a Ranger team. However, the rule manual isn't clear whether this includes small screens like the Nokia 5110, or just large monitors used for camera/diagnostics.
In past years, the MATE competition has had a limit on the number of screens/displays used by a Ranger team. However, the rule manual isn't clear whether this includes small screens like the Nokia 5110, or just large monitors used for camera/diagnostics.
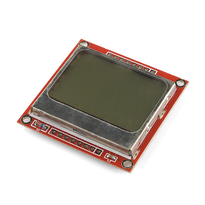
Nokia 5110
I would much prefer to use the Nokia 5110 over the Topway display, because of its higher resolution. The ability to read data from multiple sensors at once verses scrolling data on a small screen is very desirable, especially in the timed MATE competition environment. With only 15 minutes to complete all the tasks, every spare second counts. With the Topway display I theoretically can display data in real-time from two different sensors at once. If I added a button or rotary switch I might be able to switch between sensor readings from up to 6 sensors, limited by the number of Analog input pins on the Arduino. With the Nokia I might be able to view even more data at once, perhaps 4 or more sensors in real-time.
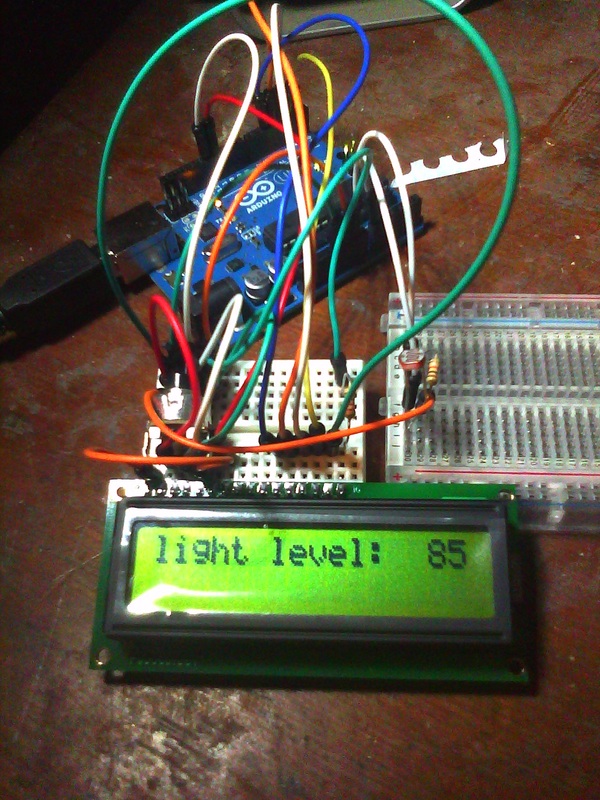
I managed to have the display read sensor data from a photoresistor very easily, much to my own delight. Of course, this is all just experimental. I also have an Arduino Mega 2560 at my disposal, and I may end up using that in the actual ROV. And we would pretty much never have use for a light sensor, unless the MATE folks decided to throw in a new mission with that as a goal. What would be much more realistic would be measuring temperature, with the use of a thermistor. Thermistors are also analog, and function very nearly like a photoresistor. The difference between the two is that the photoresistor's resistance changes with varying light levers, whereas the thermistor's resistance changes based on temperature changes.
I have not been able to find anywhere, including on the Internet, how to use a thermistor to give a semi-accurate temperature reading. I plugged it into the same circuit as you see above, using a 10k resistor in line to ground. However, at room temperature the Topway displays 14. What does this mean? Exactly what value is this, and how to convert it to degrees Celsius? There are plenty of tutorials on the Internet about converting to Celsius, but none of them make sense in a way for me to use them with the Topway. If anyone who reads this post has an idea on how to use a thermistor with the Topway, please leave a comment and I will get back to you right away.
The Ultimate goal with this current experimental project is to have the Topway circuitry permanently soldered to its own PC board so as to eliminate all the messy wiring, and to be able to display data from two different sensors at once. However, I have had issues with connecting all the leads on the board. After I get some desolder braid and finish getting that put back together, I will upload some more pics of my project.
I will also upload some pics of the Nokia plugged into one of my Arduinos after I get it in a few days. Should be interesting, and hopefully won't be as difficult to get connected to the Arduino.
 RSS Feed